创建一个hugo博客
三个repository
- 用于存储原数据的仓库,可以设置为
private,部署Github Actions 文章内容发生变动时自动构建,并部署到展示username.github.io展示仓。 theme仓库,作为原始数据仓库的子模块(submodule),用以保存hugo的主题文件。username.github.io仓库,保存hugo生成的静态网站数据,配置了Github pages ,做网站展示。
首先在Github网站创建好remote repository ,并在username.github.io仓库启用github pages
之后需要到官网下载hugo的安装包,由于我用的Jane的theme,需要extend支持,所以我下载的是extend版本。
 1
 2
 3
 4
 5
 6
 7
 8
 9
10
11
12
13
14
15
16
17
18
19
20
21
22
23
24
25
26
27
28
29
30
31
32
33
34
35
| # 下载安装hugo
wget https://github.com/gohugoio/hugo/releases/download/v0.125.3/hugo_extended_0.125.3_linux-arm64.deb
sudo dpkg -i hugo_extended_0.125.3_linux-arm64.deb
# macos 通过brew安装: brew install hugo
# 创建一个新站点
hugo new site myblog
# 进行一些基础配置
cd my_blog
git init
vim .gitignore
# public目录是hugo生成的静态页面数据,此数据不需要保存在原始仓库中,因此写入./public
# 添加theme
git submodule add https://github.com/xianmin/hugo-theme-jane.git themes/jane
cp -r themes/jane/exampleSite/content ./
cp themes/jane/exampleSite/config.toml ./
# 测试
hugo server -D --bind your_ip -p 1313 --baseURL=http://your_ip :1313
# 上传github
git add -A
git commit -m "xxxxx"
git remote add origin https://github.com/username/username-blog.git
git push --set-upstream -f origin main
# 上传github.io网站的数据
cd public
git add -A
git commit -m "xxx"
git remote add origin https://github.com/username/username.github.io.git
git push --set-upstream -f origin main
# 等github pages部署完成应该可以在username.github.io页面看到网站的内容了。
|
部署到GitHub
参考: https://zhuanlan.zhihu.com/p/695022420
首先需要生成personal access tokens;(github actions通过该access tokens获取仓库的访问权限)
然后在对应的repository中设置secret;(在github actions中通过secret变量获取到千百年的access tokens)
最后配置Github Actions : 当main分支有新的commit时,自动下载最新的变动,执行hugo生成网站内容,然后推送到github.io仓库。
 1
 2
 3
 4
 5
 6
 7
 8
 9
10
11
12
13
14
15
16
17
18
19
20
21
22
23
24
25
26
27
28
29
30
31
32
33
34
35
36
37
38
39
40
41
42
43
44
45
46
47
48
49
50
51
52
53
54
55
56
57
58
59
| # Sample workflow for building and deploying a Hugo site to GitHub Pages
name: Deploy Hugo site to Pages
on:
# Runs on pushes targeting the default branch
push:
branches: ["main"]
# Allows you to run this workflow manually from the Actions tab
workflow_dispatch:
# Sets permissions of the GITHUB_TOKEN to allow deployment to GitHub Pages
permissions:
contents: read
pages: write
id-token: write
# Allow only one concurrent deployment, skipping runs queued between the run in-progress and latest queued.
# However, do NOT cancel in-progress runs as we want to allow these production deployments to complete.
concurrency:
group: "pages"
cancel-in-progress: false
# Default to bash
defaults:
run:
shell: bash
jobs:
# Build job
build:
runs-on: ubuntu-latest
steps:
- name: Checkout
uses: actions/checkout@v4
with:
submodules: recursive
fetch-depth: 0
- name: setup
uses: peaceiris/actions-hugo@v3.0.0
with:
hugo-version: "latest"
extended: true
- name: Build with Hugo
run: |
hugo --minify \
--baseURL "${{ steps.pages.outputs.base_url }}/"
- name: deploy
uses: peaceiris/actions-gh-pages@v4
with:
PERSONAL_TOKEN: ${{ secrets.GH_PAGE_ACTION_TOKEN}}
EXTERNAL_REPOSITORY: username/username.github.io
PUBLISH_BRANCH: main
PUBLISH_DIR: ./public
commit_message: ${{github.event.head_commit.message}}
|
新增一篇blog
先准备环境
 1
 2
 3
 4
 5
 6
 7
 8
 9
10
11
12
13
14
15
16
17
| # 安装hugo
brew install hugo
# 生成github需要的ssh密钥
ssh-keygen -t ed25519 -C "your_email@example.com"
cat ~/.ssh/id_ed25519.pub
ssh-ed25519 xxxxxxxxxxx your_email@example.com # 将公钥上传到GitHub
# 验证
ssh -T git@github.com
Hi YuanyeMa! You've successfully authenticated, but GitHub does not provide shell access.
# 下载blog源码目录
git clone git@github.com:xxx/xxx-blog.git
# 同步主题submodule
git submodule update --init --recursive
|
新建一篇blog
1
2
| hugo new content post/macos-deploy-linux-kernel-dev-env.md --kind post
Content "/Users/xxx/xxx-blog/content/post/macos-deploy-linux-kernel-dev-env.md" created
|
kind在不同的主题上可能不一样 参考官方文档。themes/jane/archetypes/目录中看有哪几种,选一种合适的使用。
也可以手动创建,以下方式可以单独控制在指定位置创建blog,还可以单独创建目录以存储blog相关资源。
1
2
3
4
5
6
| # 进入要创建blog的目录
cd content/post/OS/linux kernel
# 单独创建一个目录,存储新blog相关的资源
mkdir deploy-linux-kernel-dev-env-on-macos
cd deploy-linux-kernel-dev-env-on-macos
touch index.md
|
使用utterance作为评论系统
官网:https://utteranc.es
我打算直接使用github.io仓库的issues作为评论的位置。
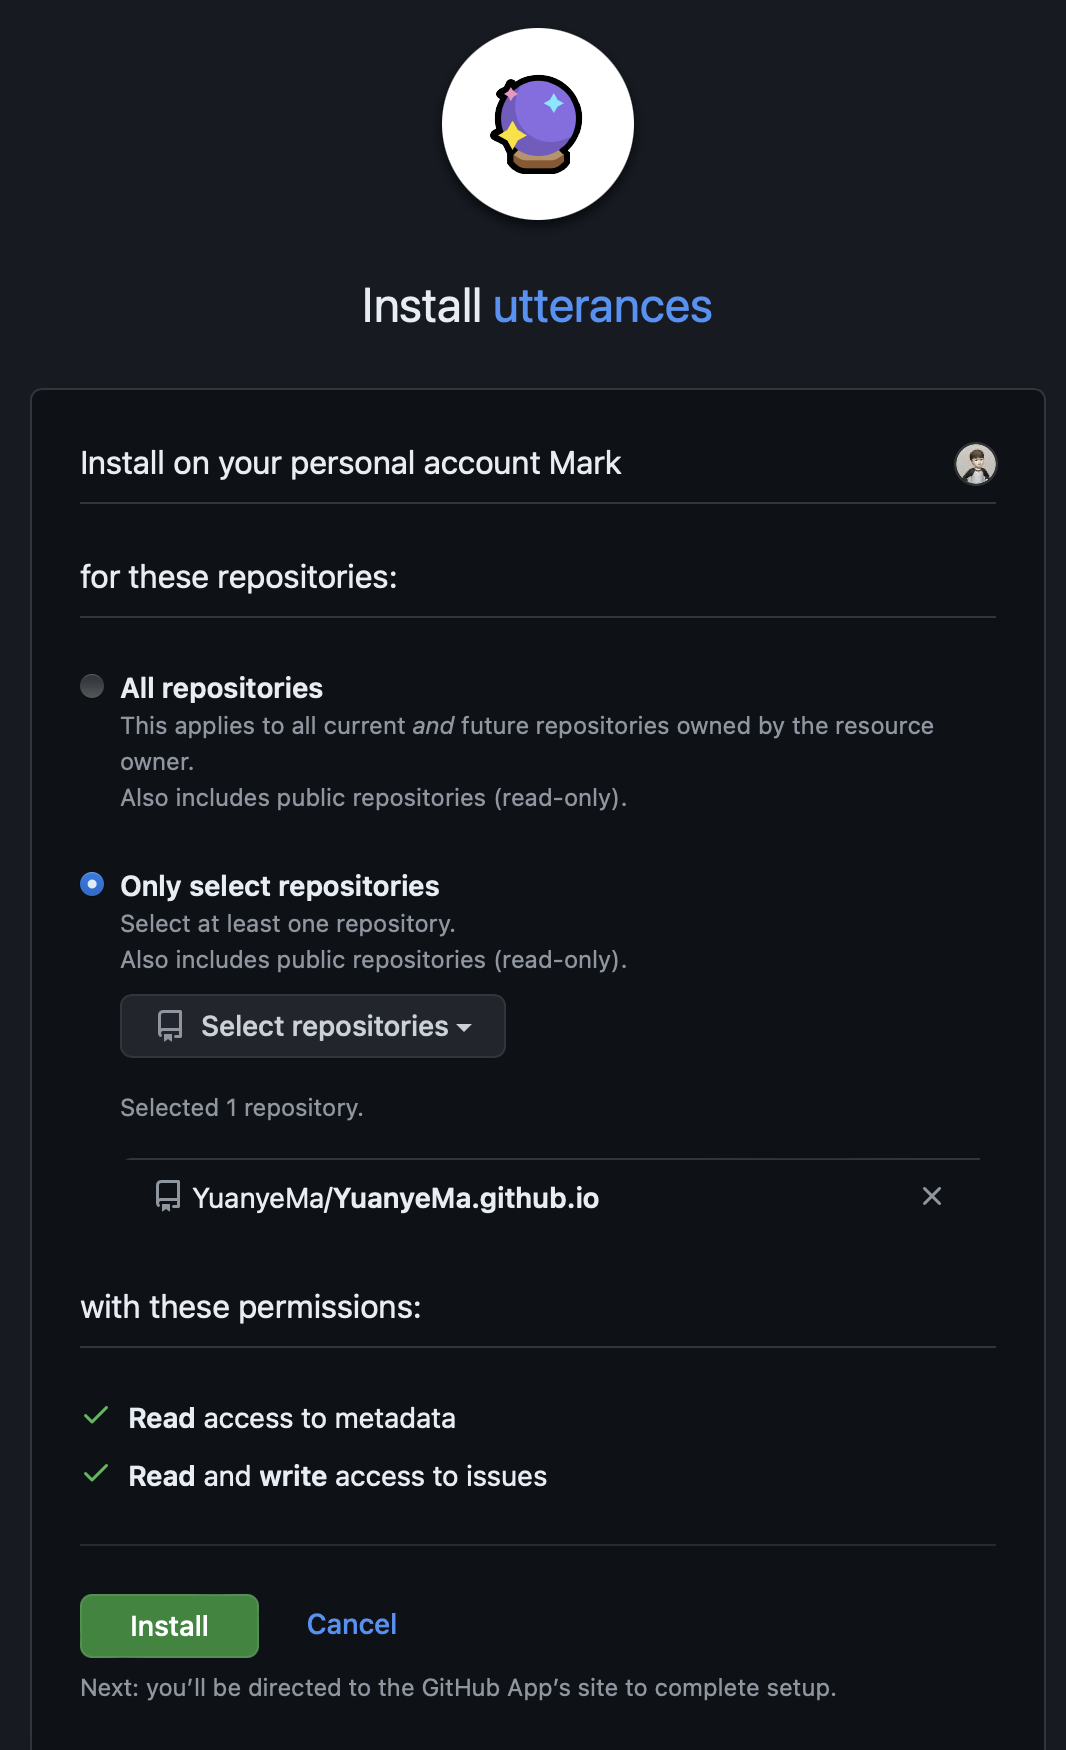
Github安装utterance
https://github.com/apps/utterances

点击Install
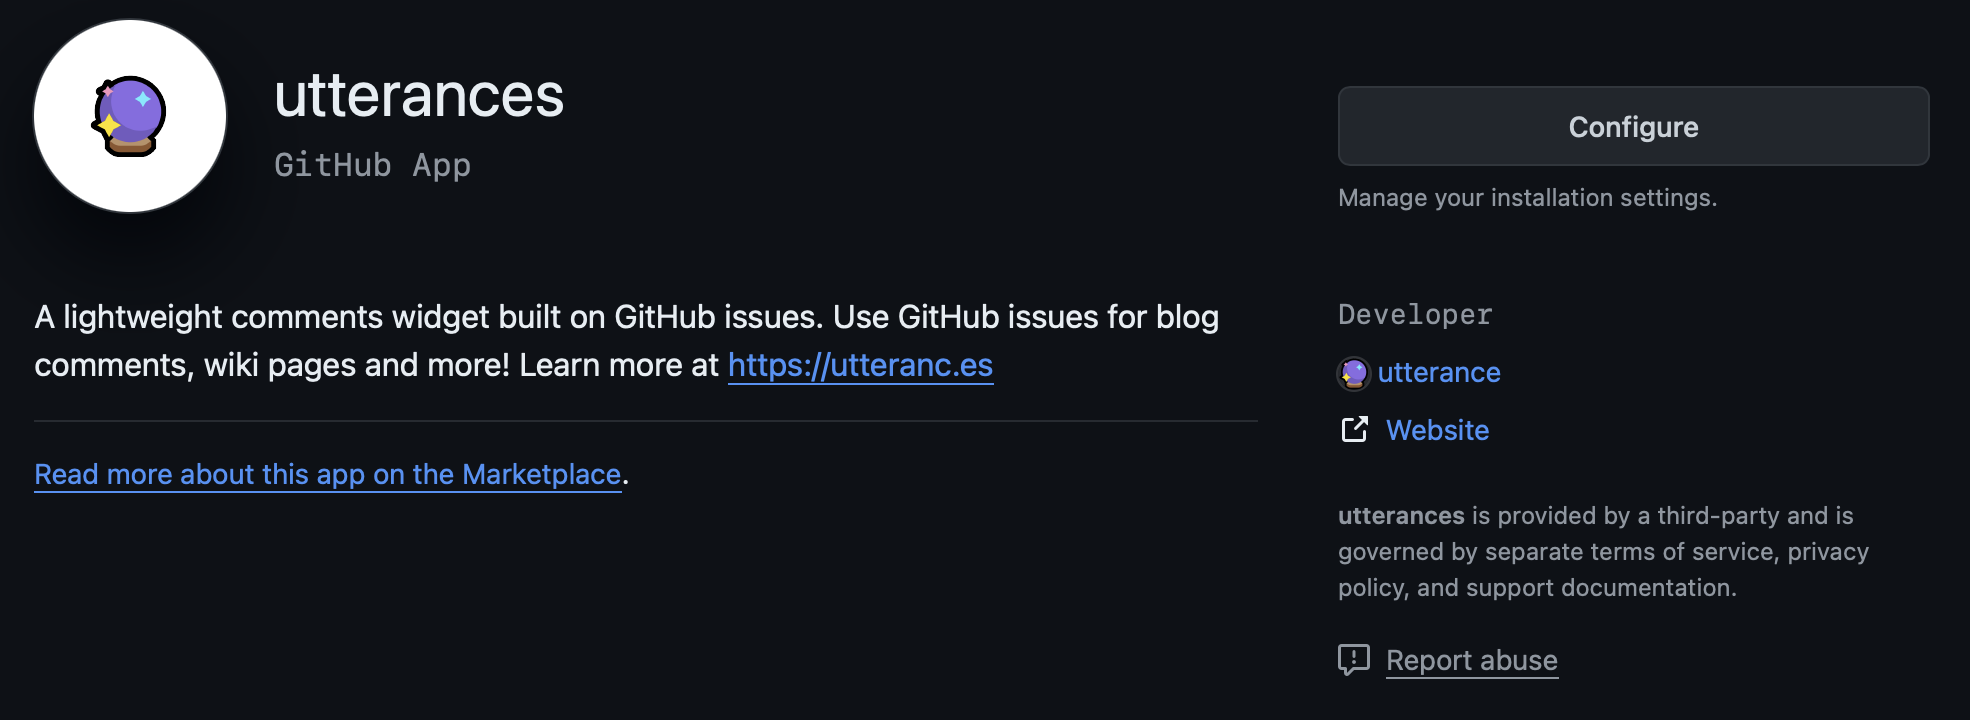
再次访问https://github.com/apps/utterances 点击Configure
jane中启动utterances评论系统
Jane主题中已经集成了utterances评论系统的布局,完成以上配置后,
- 在文章开头将
comment设置为true:
- 在
config.toml中启用:
1
2
3
4
5
| [params.utteranc]
enable = true
repo = "YuanyeMa/YuanyeMa.github.io"
issueTerm = "pathname"
theme = "github-light"
|
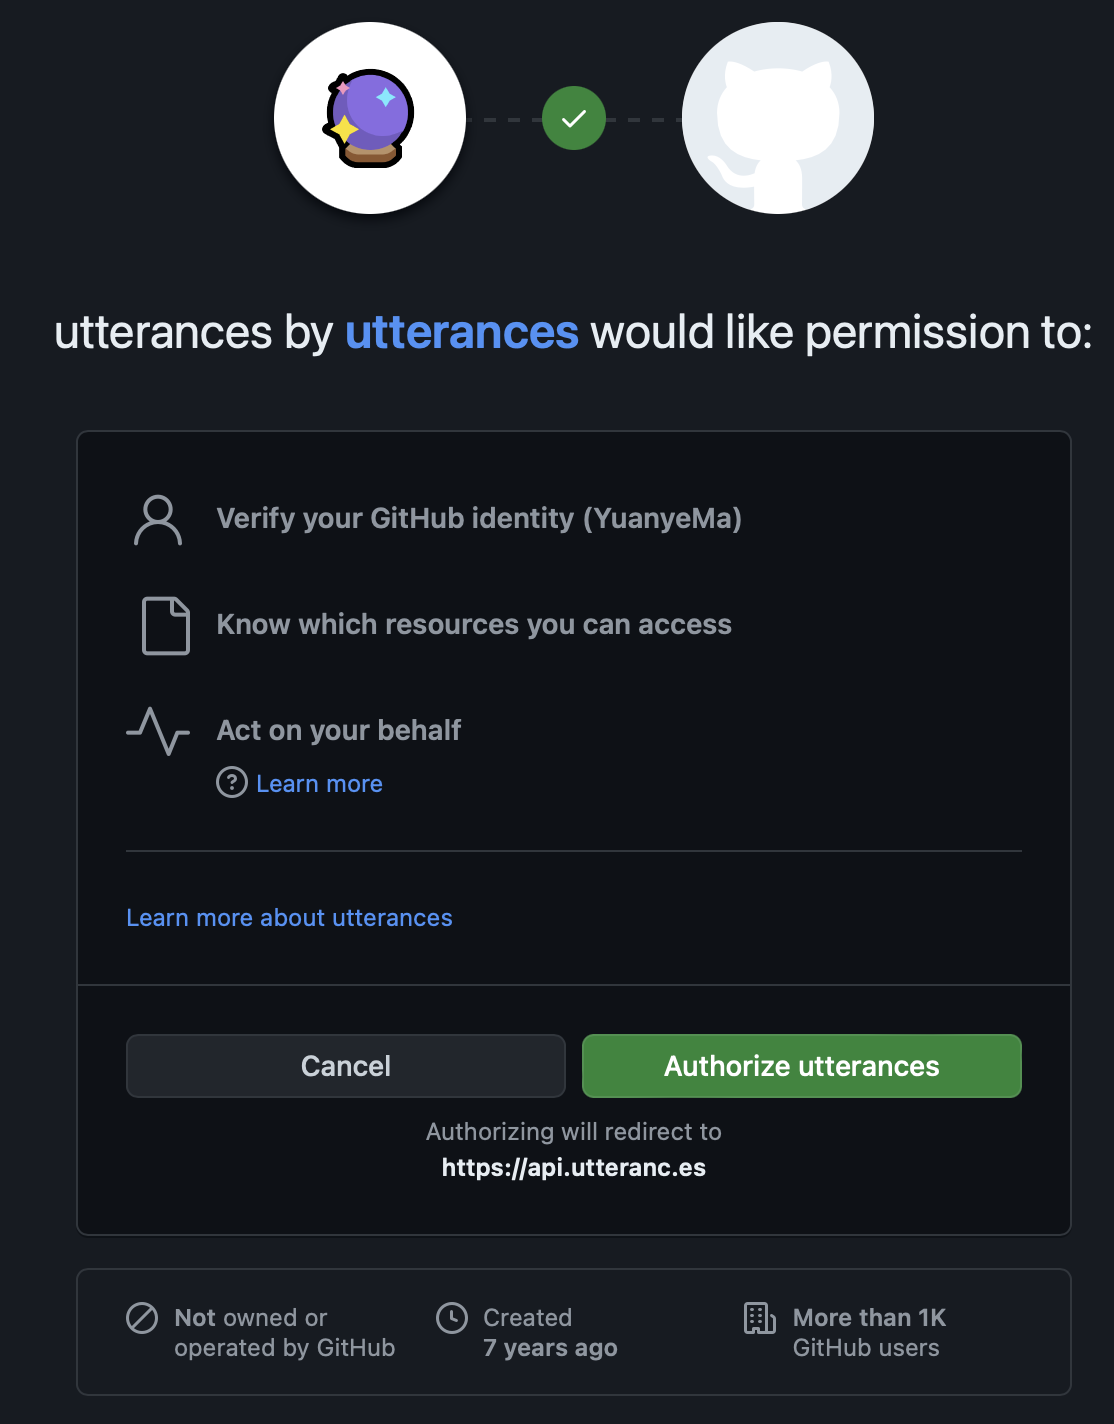
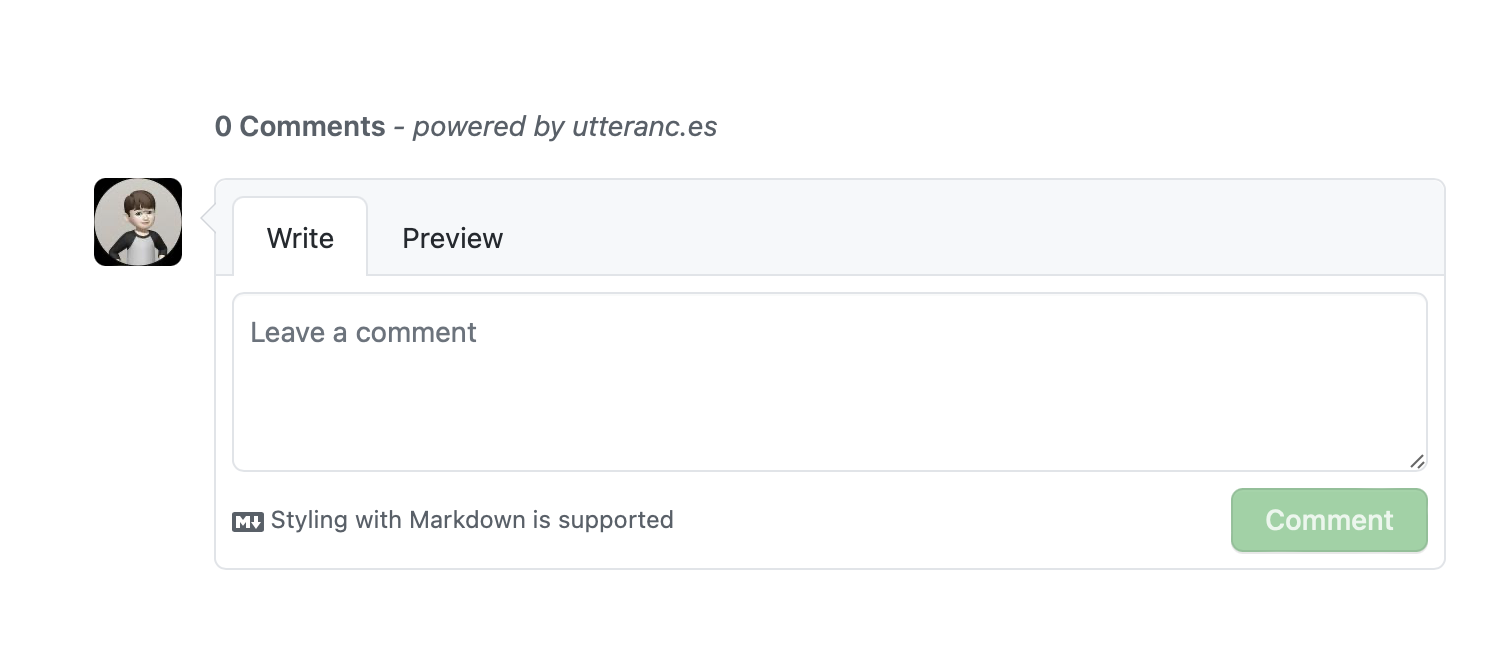
文章翻到底部就可以看到评论框,提示要登录GitHub,点击后转到授权页面,授权后就可以评论了。
参考资源
index.md和_index.md的区别